Brake jobs are where good money goes to die. A set of bargain pads can cost half as much as a quality set and still be the more expensive choice once you add a second labour bill to fix the noise. The parts are simple; the decisions are not.
Here is how pad compounds actually differ, what separates a good rotor from a cheap one, and the fitment and bed-in steps that decide whether your new brakes feel factory or worse than what you removed.
Key facts
- Ceramic pads are quiet and clean but need heat to bite; semi-metallic bite earlier and dust more.
- Rotor thickness, not just diameter, determines heat capacity and fade resistance.
- Coated rotors resist corrosion in winter climates; uncoated hats rust within a season.
- A stuck caliper slide pin ruins new pads within 2,000 km; clean and lubricate every time.
- Bed-in is 8 to 10 medium stops from 60 km/h, not a single hard stop from 120.
Pad compounds without the marketing
Ceramic pads use ceramic fibres and fillers. They run quiet, produce light dust and last well in normal driving, but they need temperature before they bite hard. On a cold, wet morning the first stop can feel softer than you expect. For a commuter car, that trade is usually acceptable.
Semi-metallic pads use steel or copper fibres. They bite from cold, handle heat better and are the better choice for towing, mountain roads or a heavy vehicle. They also dust more, can be noisier and wear rotors faster. Organic pads sit between the two and are fine for light use, but they fade sooner.
What separates a good rotor from a cheap one
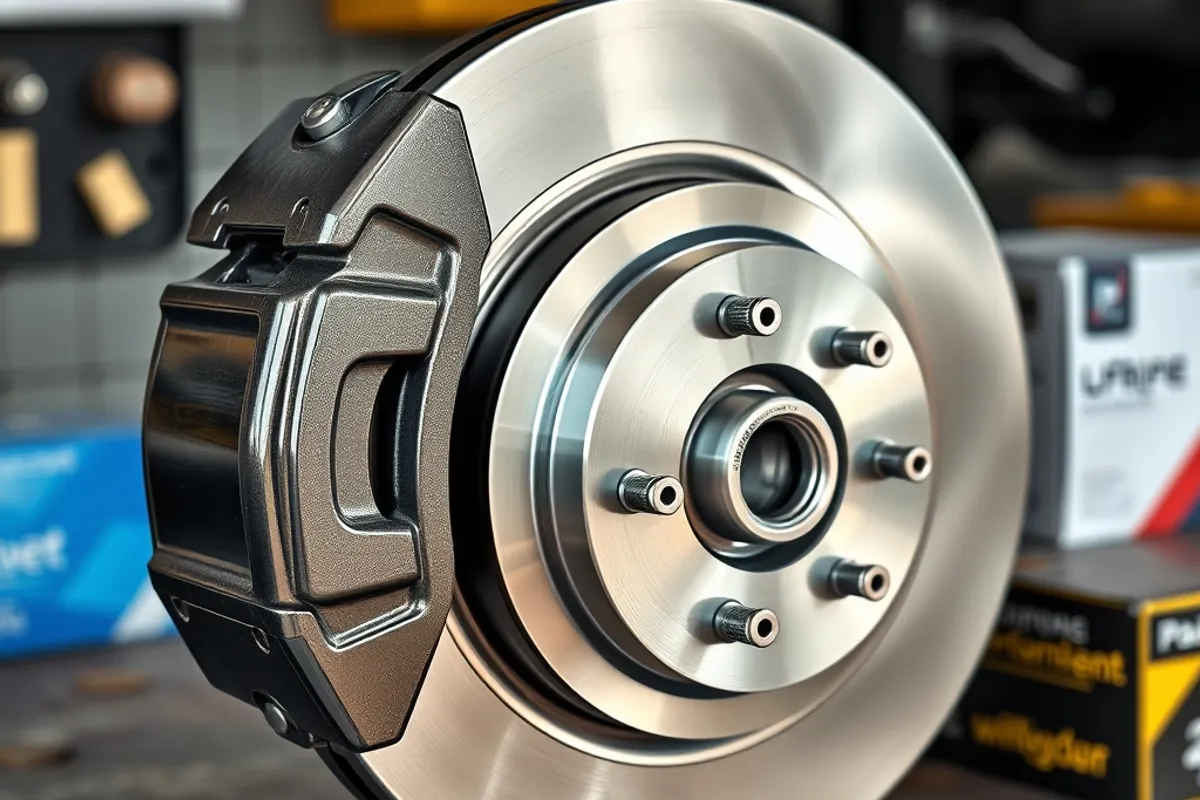
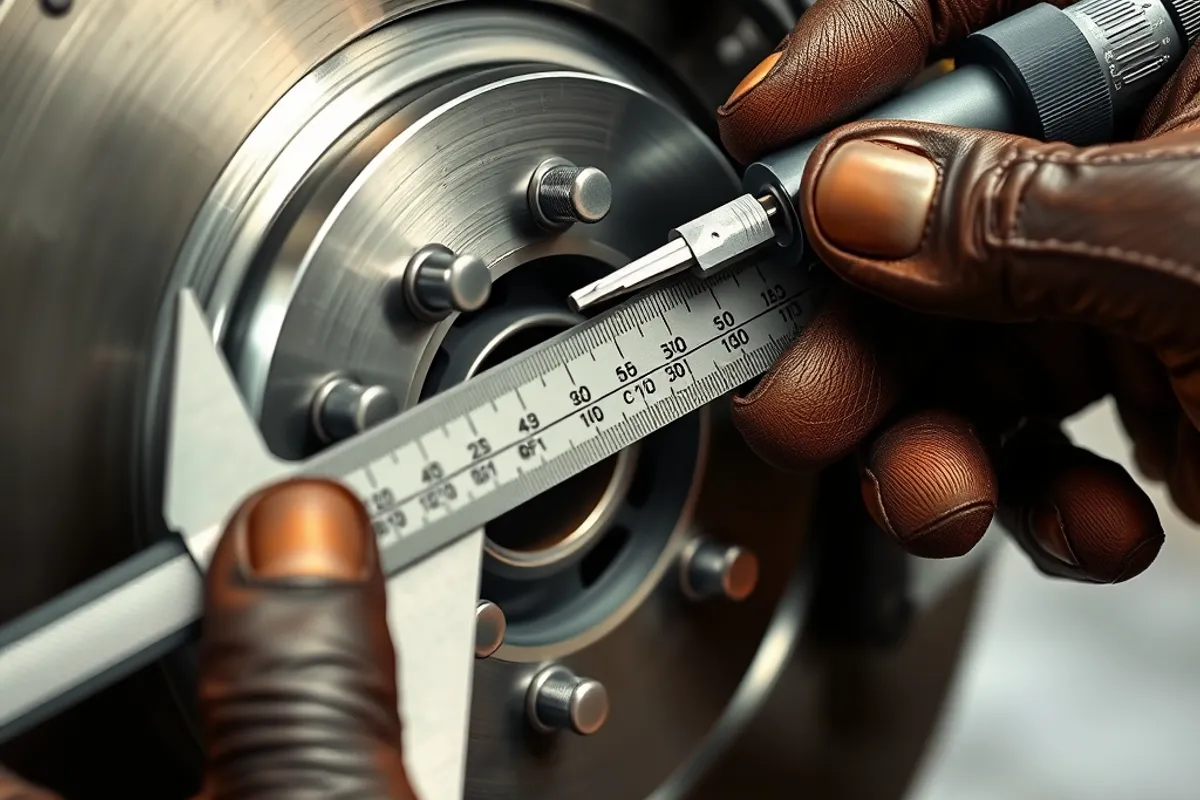
A rotor is a heat sink. Cheap ones save money on metallurgy and internal vanes, which shows up as warping, cracking or judder after a few hard stops. Look for a known brand, a coated hat and a minimum thickness that leaves room for at least one more pad set. Weight is a rough proxy: a noticeably lighter rotor at the same size is usually thinner where it matters.
Drilled rotors look fast and can crack around the holes under repeated heavy use. Slotted rotors clear water and gas but wear pads faster. For most drivers, a plain, well-made, coated rotor is the best answer. Buy the quality, not the pattern.
Fitment checks before you pay
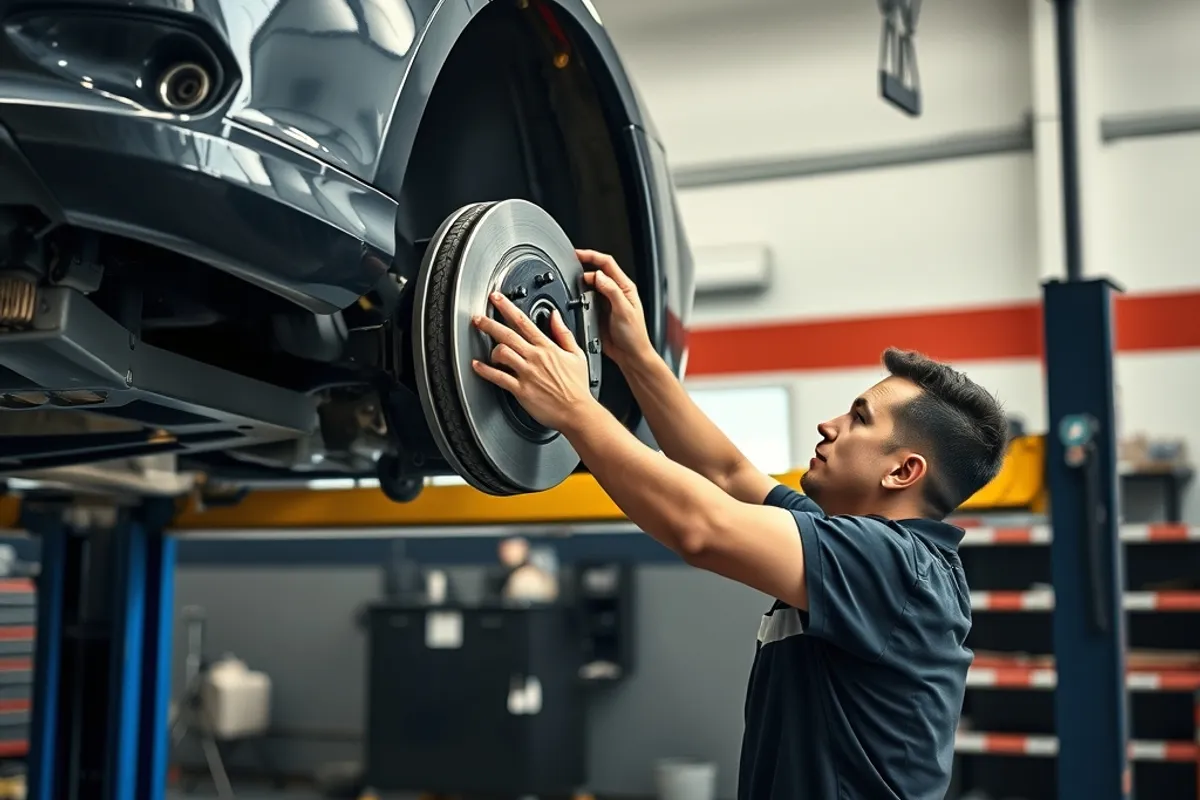
Match by VIN or registration, not by model year alone. Manufacturers change calipers and rotor sizes mid-cycle, and a brake package can differ between trims. Check the pad shape against the old pad, the rotor diameter and thickness against the spec, and the wear sensor connector if the car has one.
On cars with electronic parking brakes, you need a scan tool or a service mode to retract the rear calipers. Forcing them back by hand can destroy the motor. If you are not equipped for that, pay a shop for the rear axle and do the fronts yourself.
The step everyone skips: cleaning and lubricating
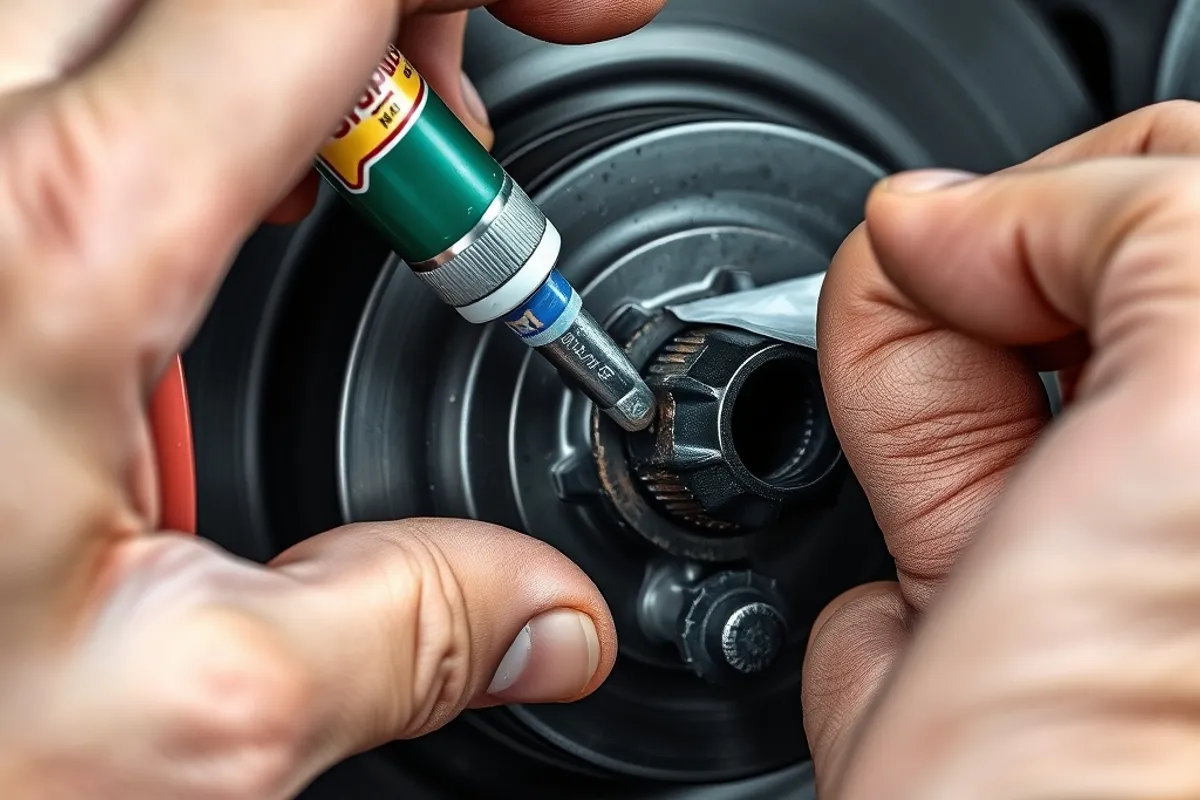
New pads on dirty hardware will squeal. Clean the caliper bracket, remove rust scale, and lubricate the slide pins with the correct high-temperature grease. Check the piston boot for tears and the caliper for sticking. A caliper that drags will overheat the new pad and warp the new rotor, and then the parts get blamed.
Use brake cleaner on the friction surfaces and never on the rubber. Torque the caliper bolts and the wheel nuts to spec, and pump the pedal before you move the car. That last step is not optional.
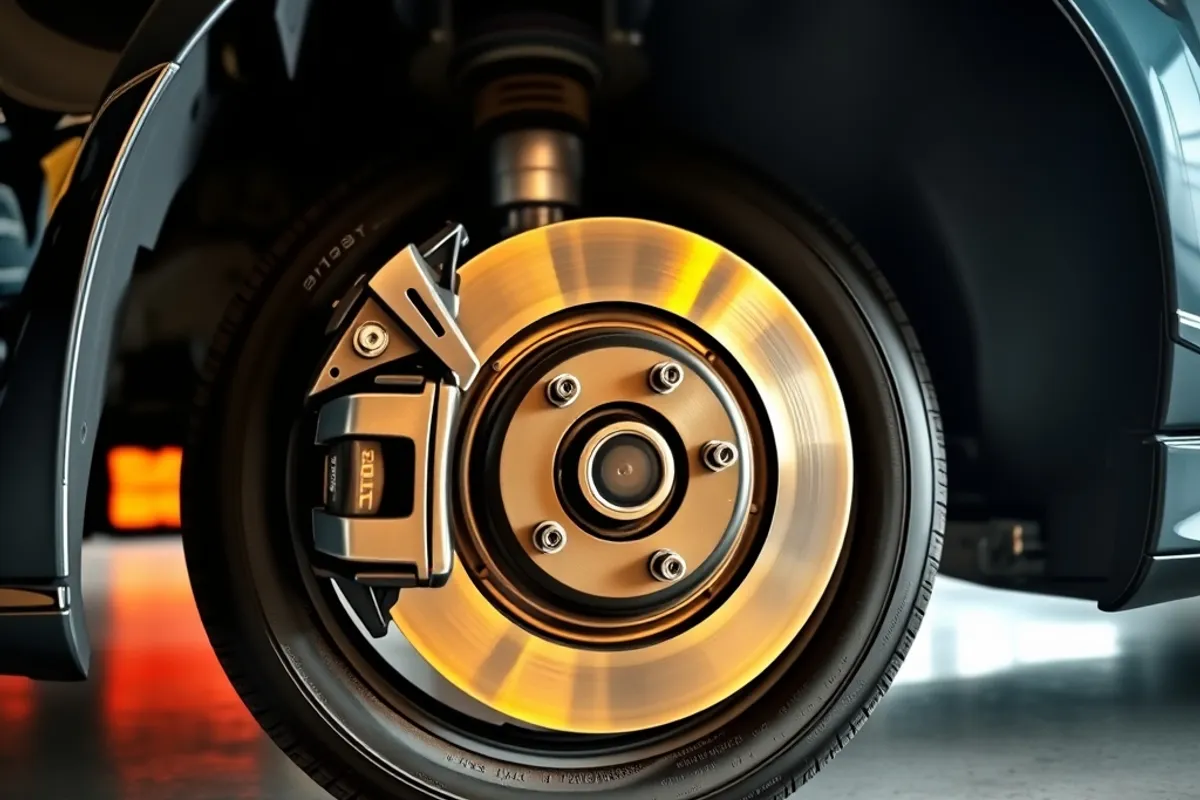
The pad is the consumable. The rotor is the heat sink. The installation is what makes them work.
Bed-in, and why it matters
Bed-in transfers a thin, even layer of pad material onto the rotor. Without it, you get uneven deposits, which feel like judder and sound like a pulse. Find an empty road and make 8 to 10 medium stops from about 60 km/h, letting the brakes cool between stops. Then drive normally for a few hundred kilometres.
Avoid a single panic stop from high speed on new pads. It can bake an imprint into the rotor that no amount of driving will fix. If the pedal pulses after a week, the rotor is likely contaminated or the hub surface was not clean.
When to replace, and what it costs
Pads have a wear indicator or a sensor; replace at 3 mm remaining, or earlier if the car is heavy or you tow. Rotors have a minimum thickness stamped on the hat; measure with a micrometer, not by eye. A lip on the edge is normal; a groove or blue spots are not.
In 2026, a quality front pad and rotor set for a mid-size car runs roughly $180 to $320 in parts, and a shop job $350 to $600 per axle. Rear brakes with electronic parking brakes cost more. Doing the fronts yourself is a reasonable weekend job; the rears are where most DIY errors happen.
A simple buying rule
Buy a well-known pad brand in the compound that matches your driving, pair it with a plain coated rotor from the same tier, and replace hardware that is worn. Do not mix a race pad with a cheap rotor, and do not put the cheapest pads on the heaviest car in the household.
If you tow or drive mountain roads regularly, spend the extra on semi-metallic pads and a heavier rotor. If you commute in traffic, ceramic is the quieter, cleaner choice. Either way, the installation matters as much as the box.
Official source: nhtsa.gov.